Been working on a little project tonight thought I'd come share my progress and a few pics.
MediaFire Image Folder
My parts list is similar to Weena's =)
Box
Board
Buttons
I started with graph paper cut it to the size of my box and taped it down and mapped out my buttons.
Next, I center punched all holes, because I didn't have a step drill I had to walk the drill sizes up from 1/8in to 1/2in being careful not to tear up the plastic. like I almost did on the first hole I drilled.
Chamfer both sides of holes.
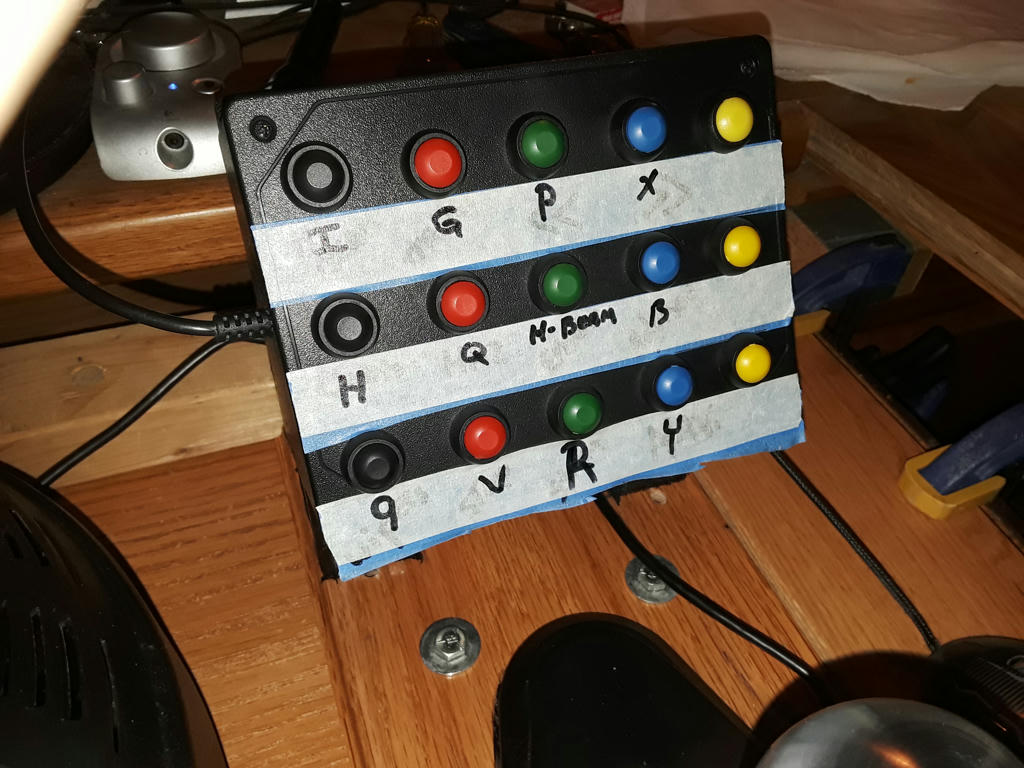
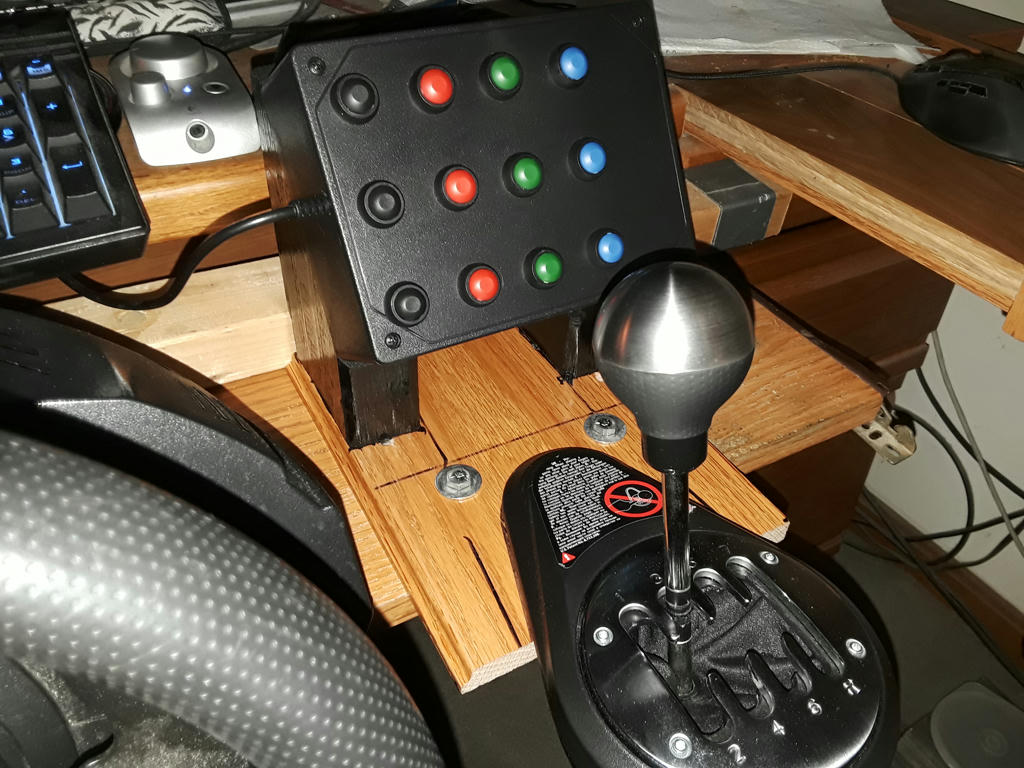
Now I added my buttons, I left a little space on the right side of the box to add a couple toggle switches or ignition down the road.
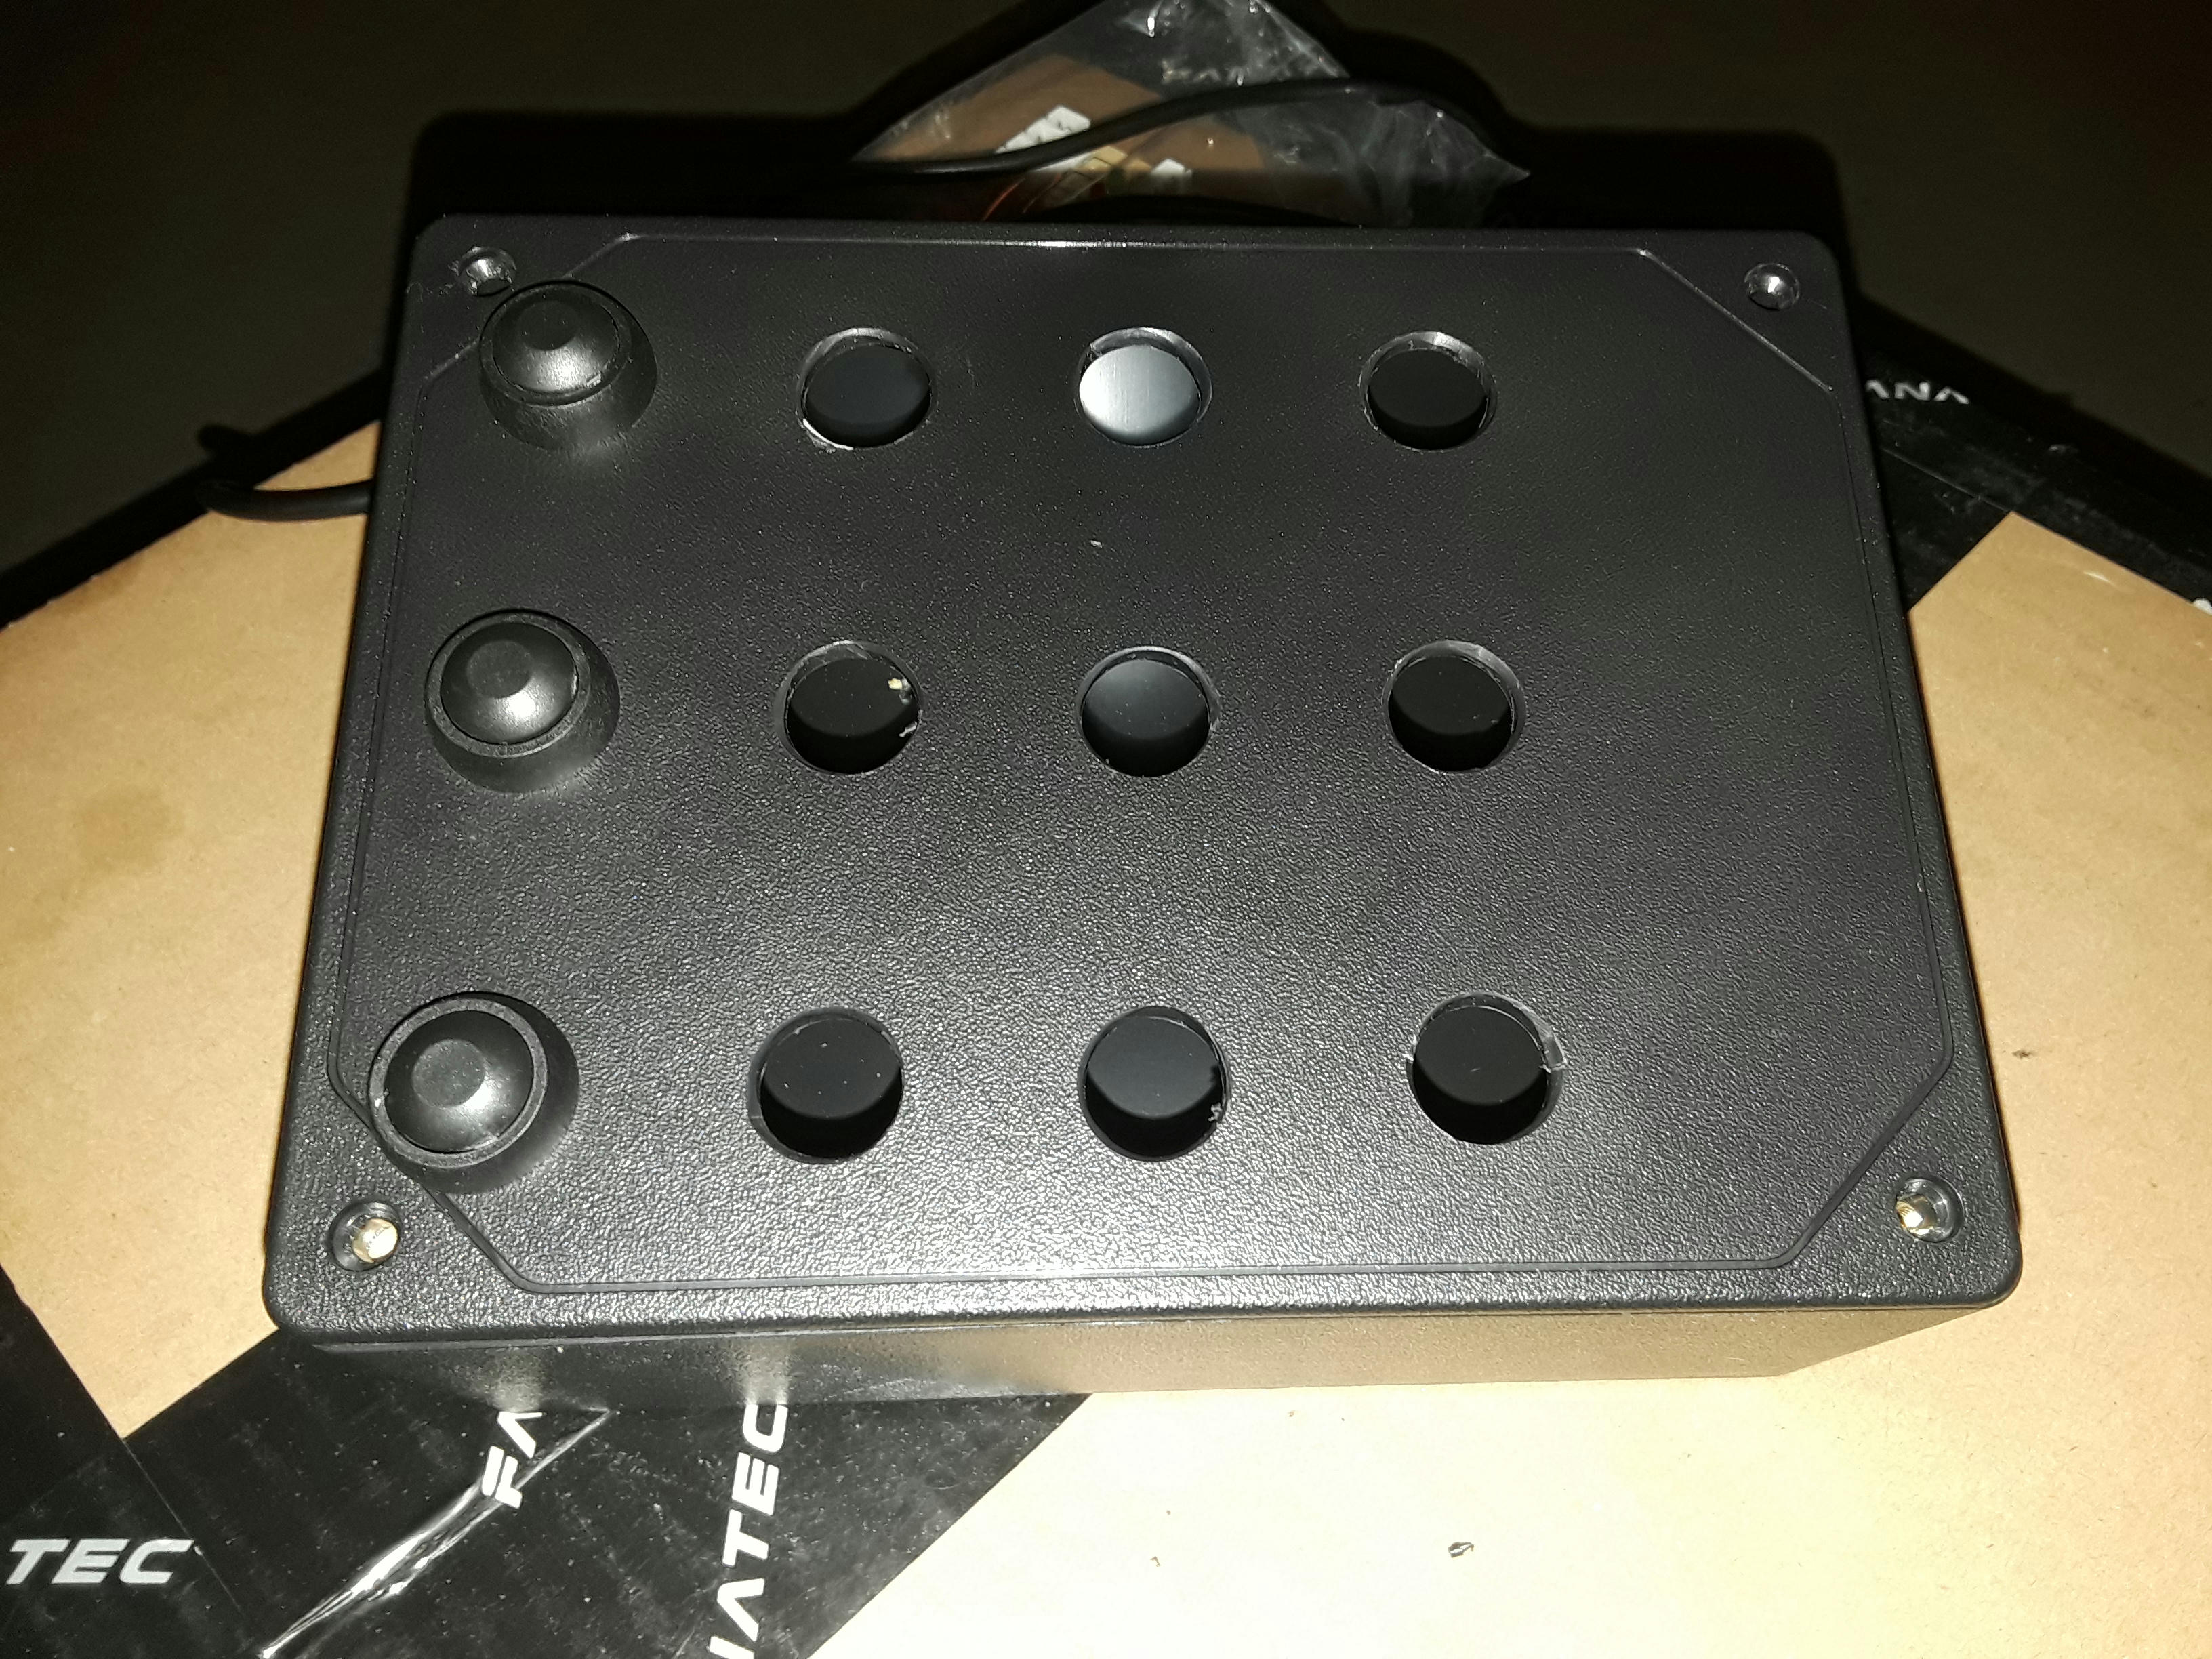
Button alignment - Top left black button reading left to right is 1-4. Middle black button L to R is 5-8 and bottom black button L to R is 9-12.

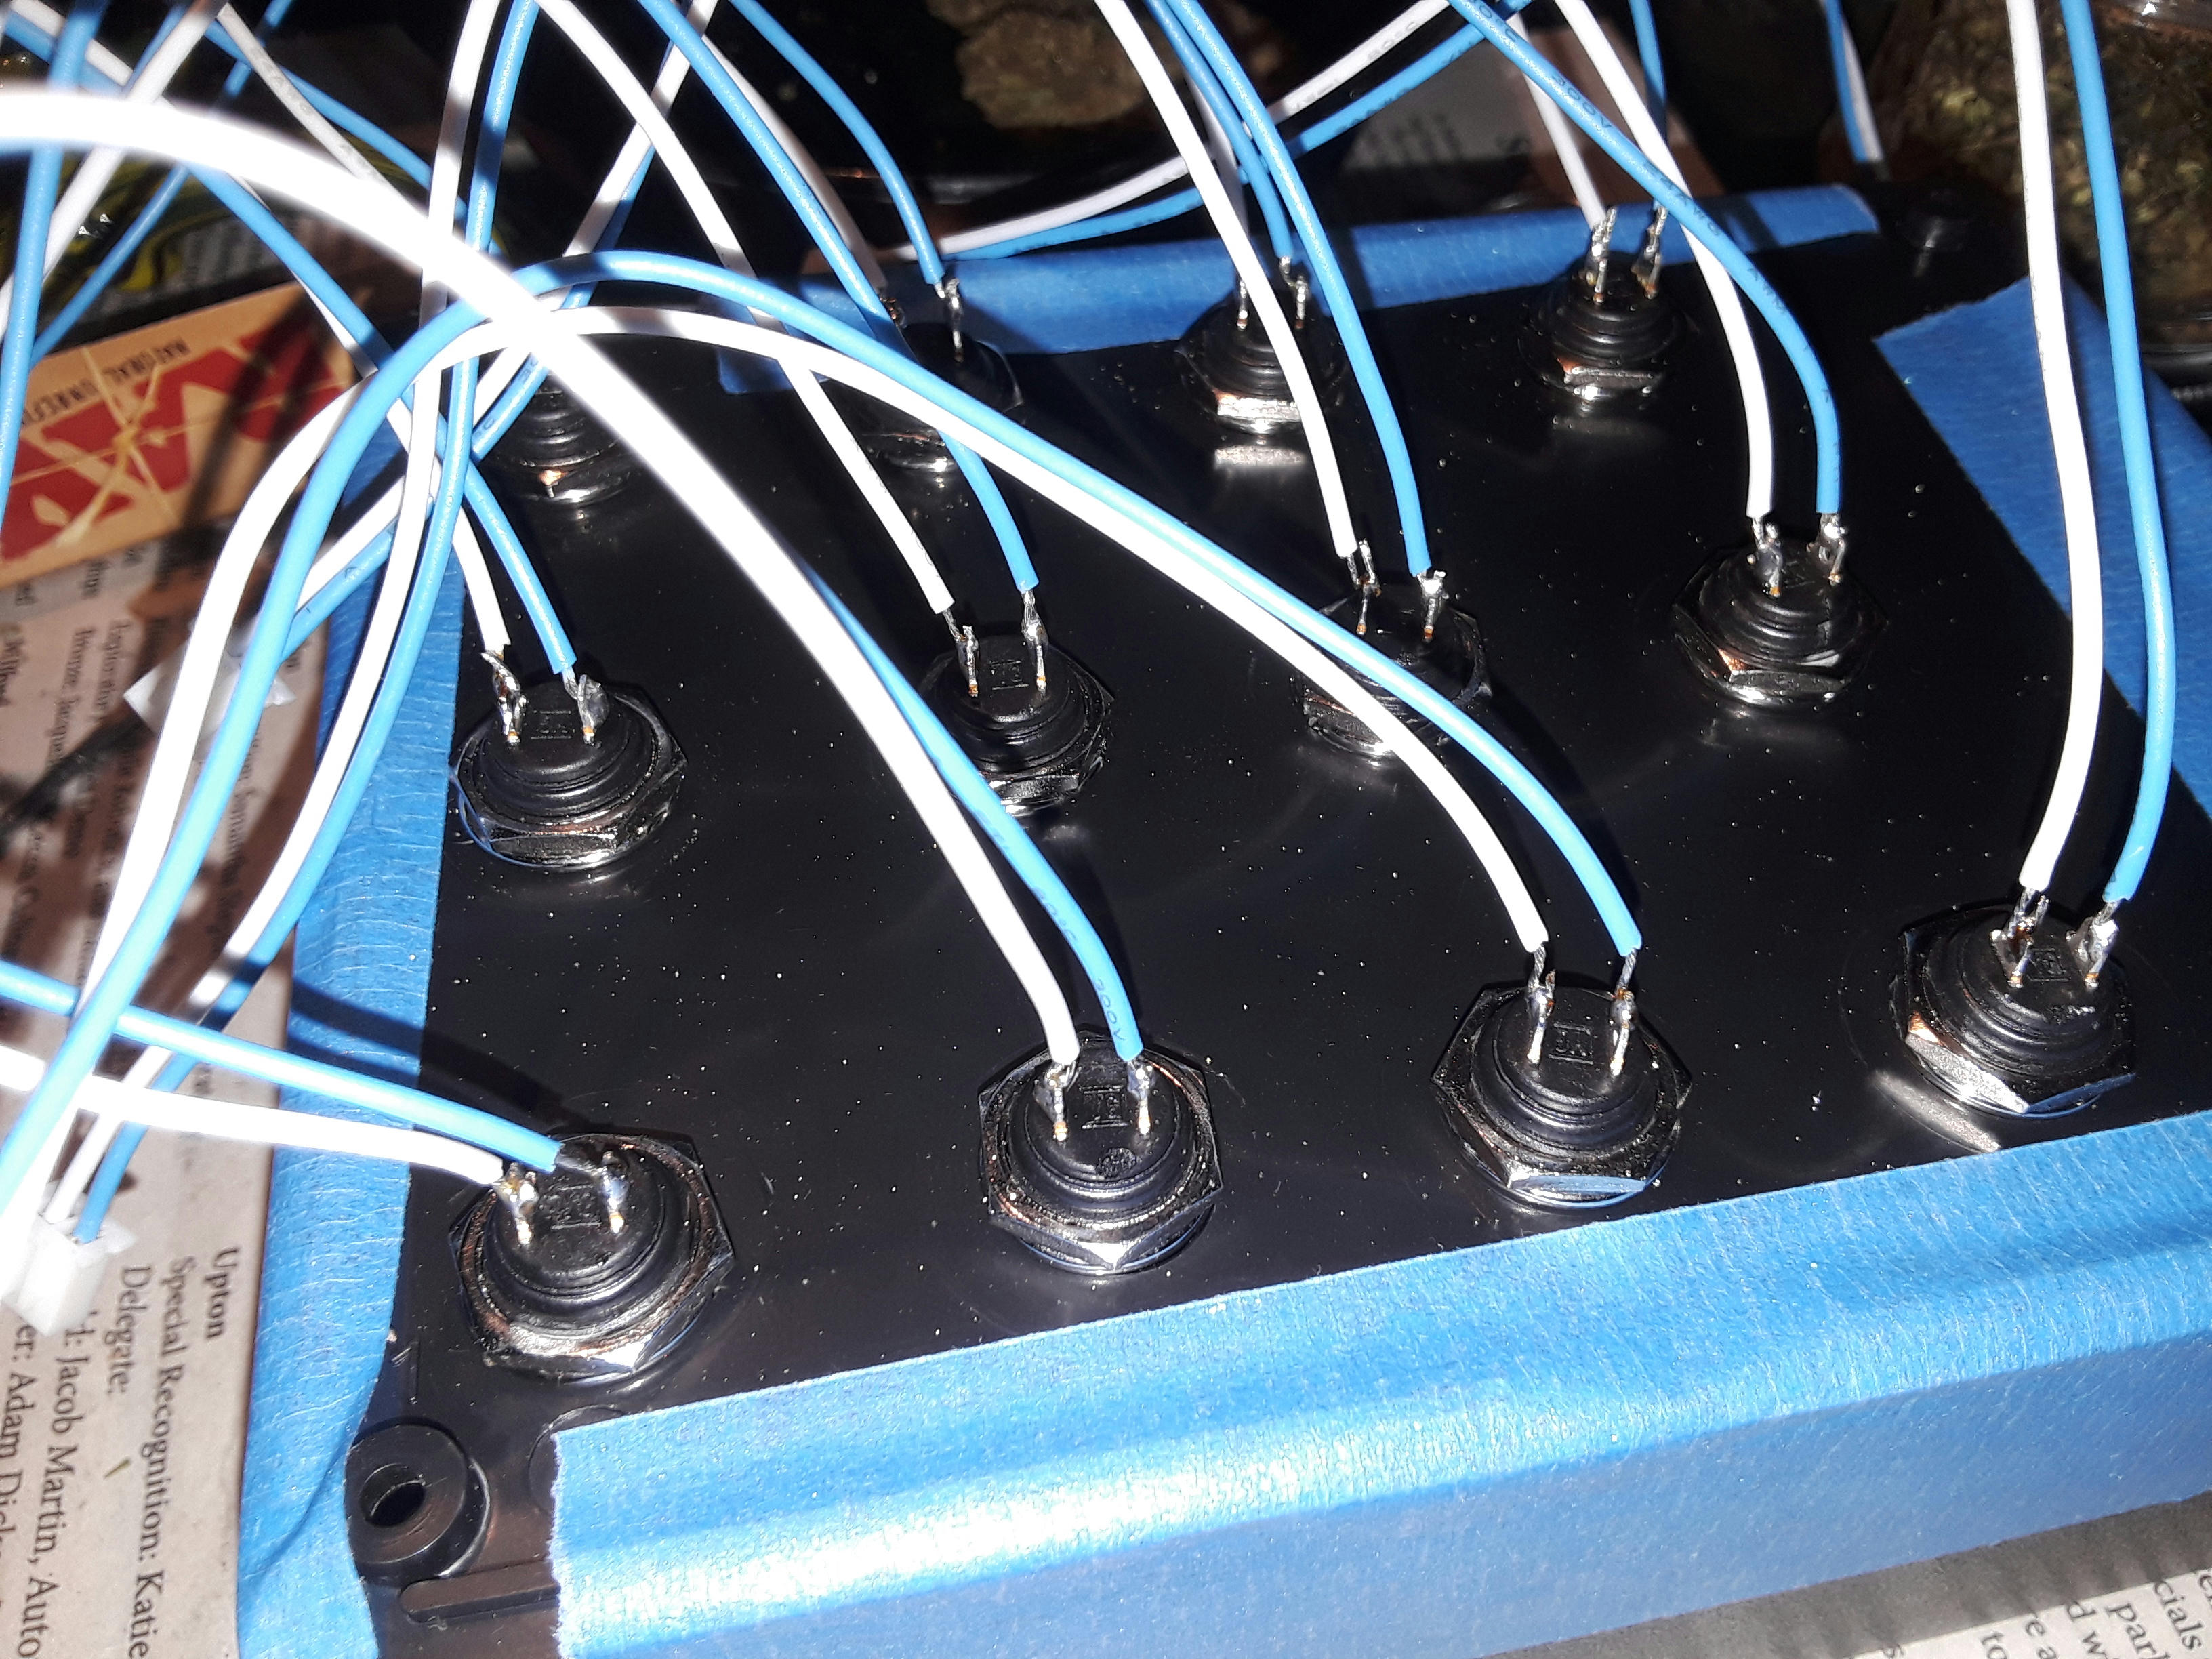
This is where everything slowed down a bit.
I tried to use the plug on ends that came on the wires with the board but they kept falling off, I crimped the ends down tight but they still wouldn't hold.
I cut off all the plugs from the wires, striped and tinned the wire ends. Wasn't hard just took a little time being careful not to use to much solder.
Then I bent the wire ends into a U shape, pinched them on the button lead ends and soldered them up.
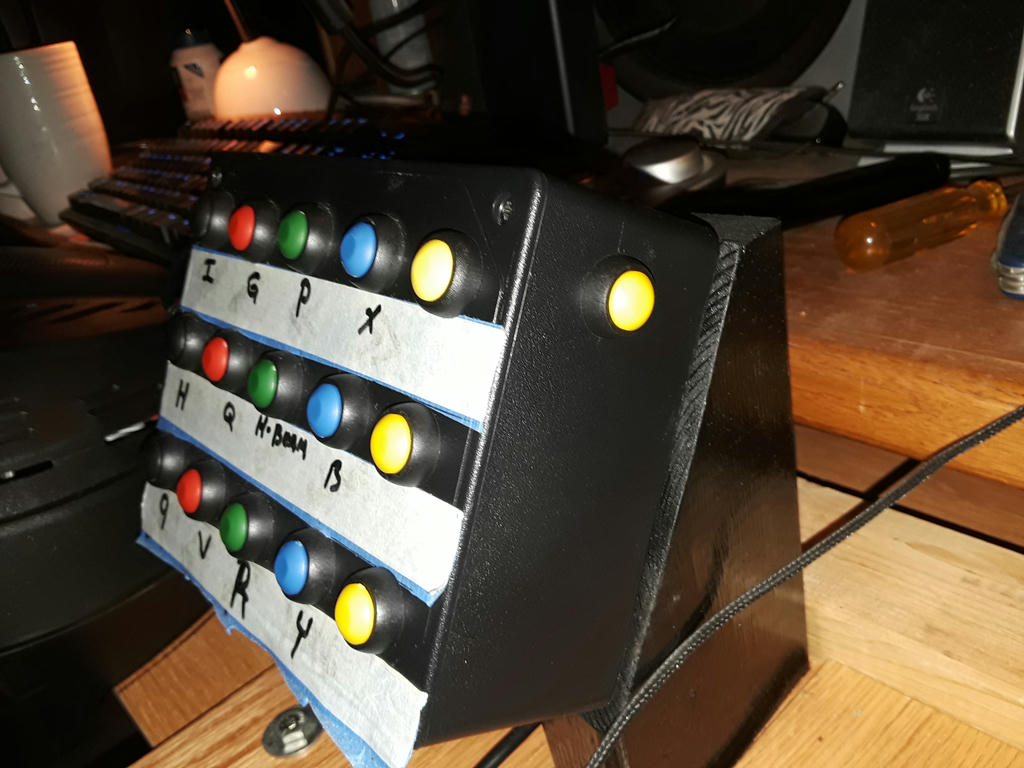
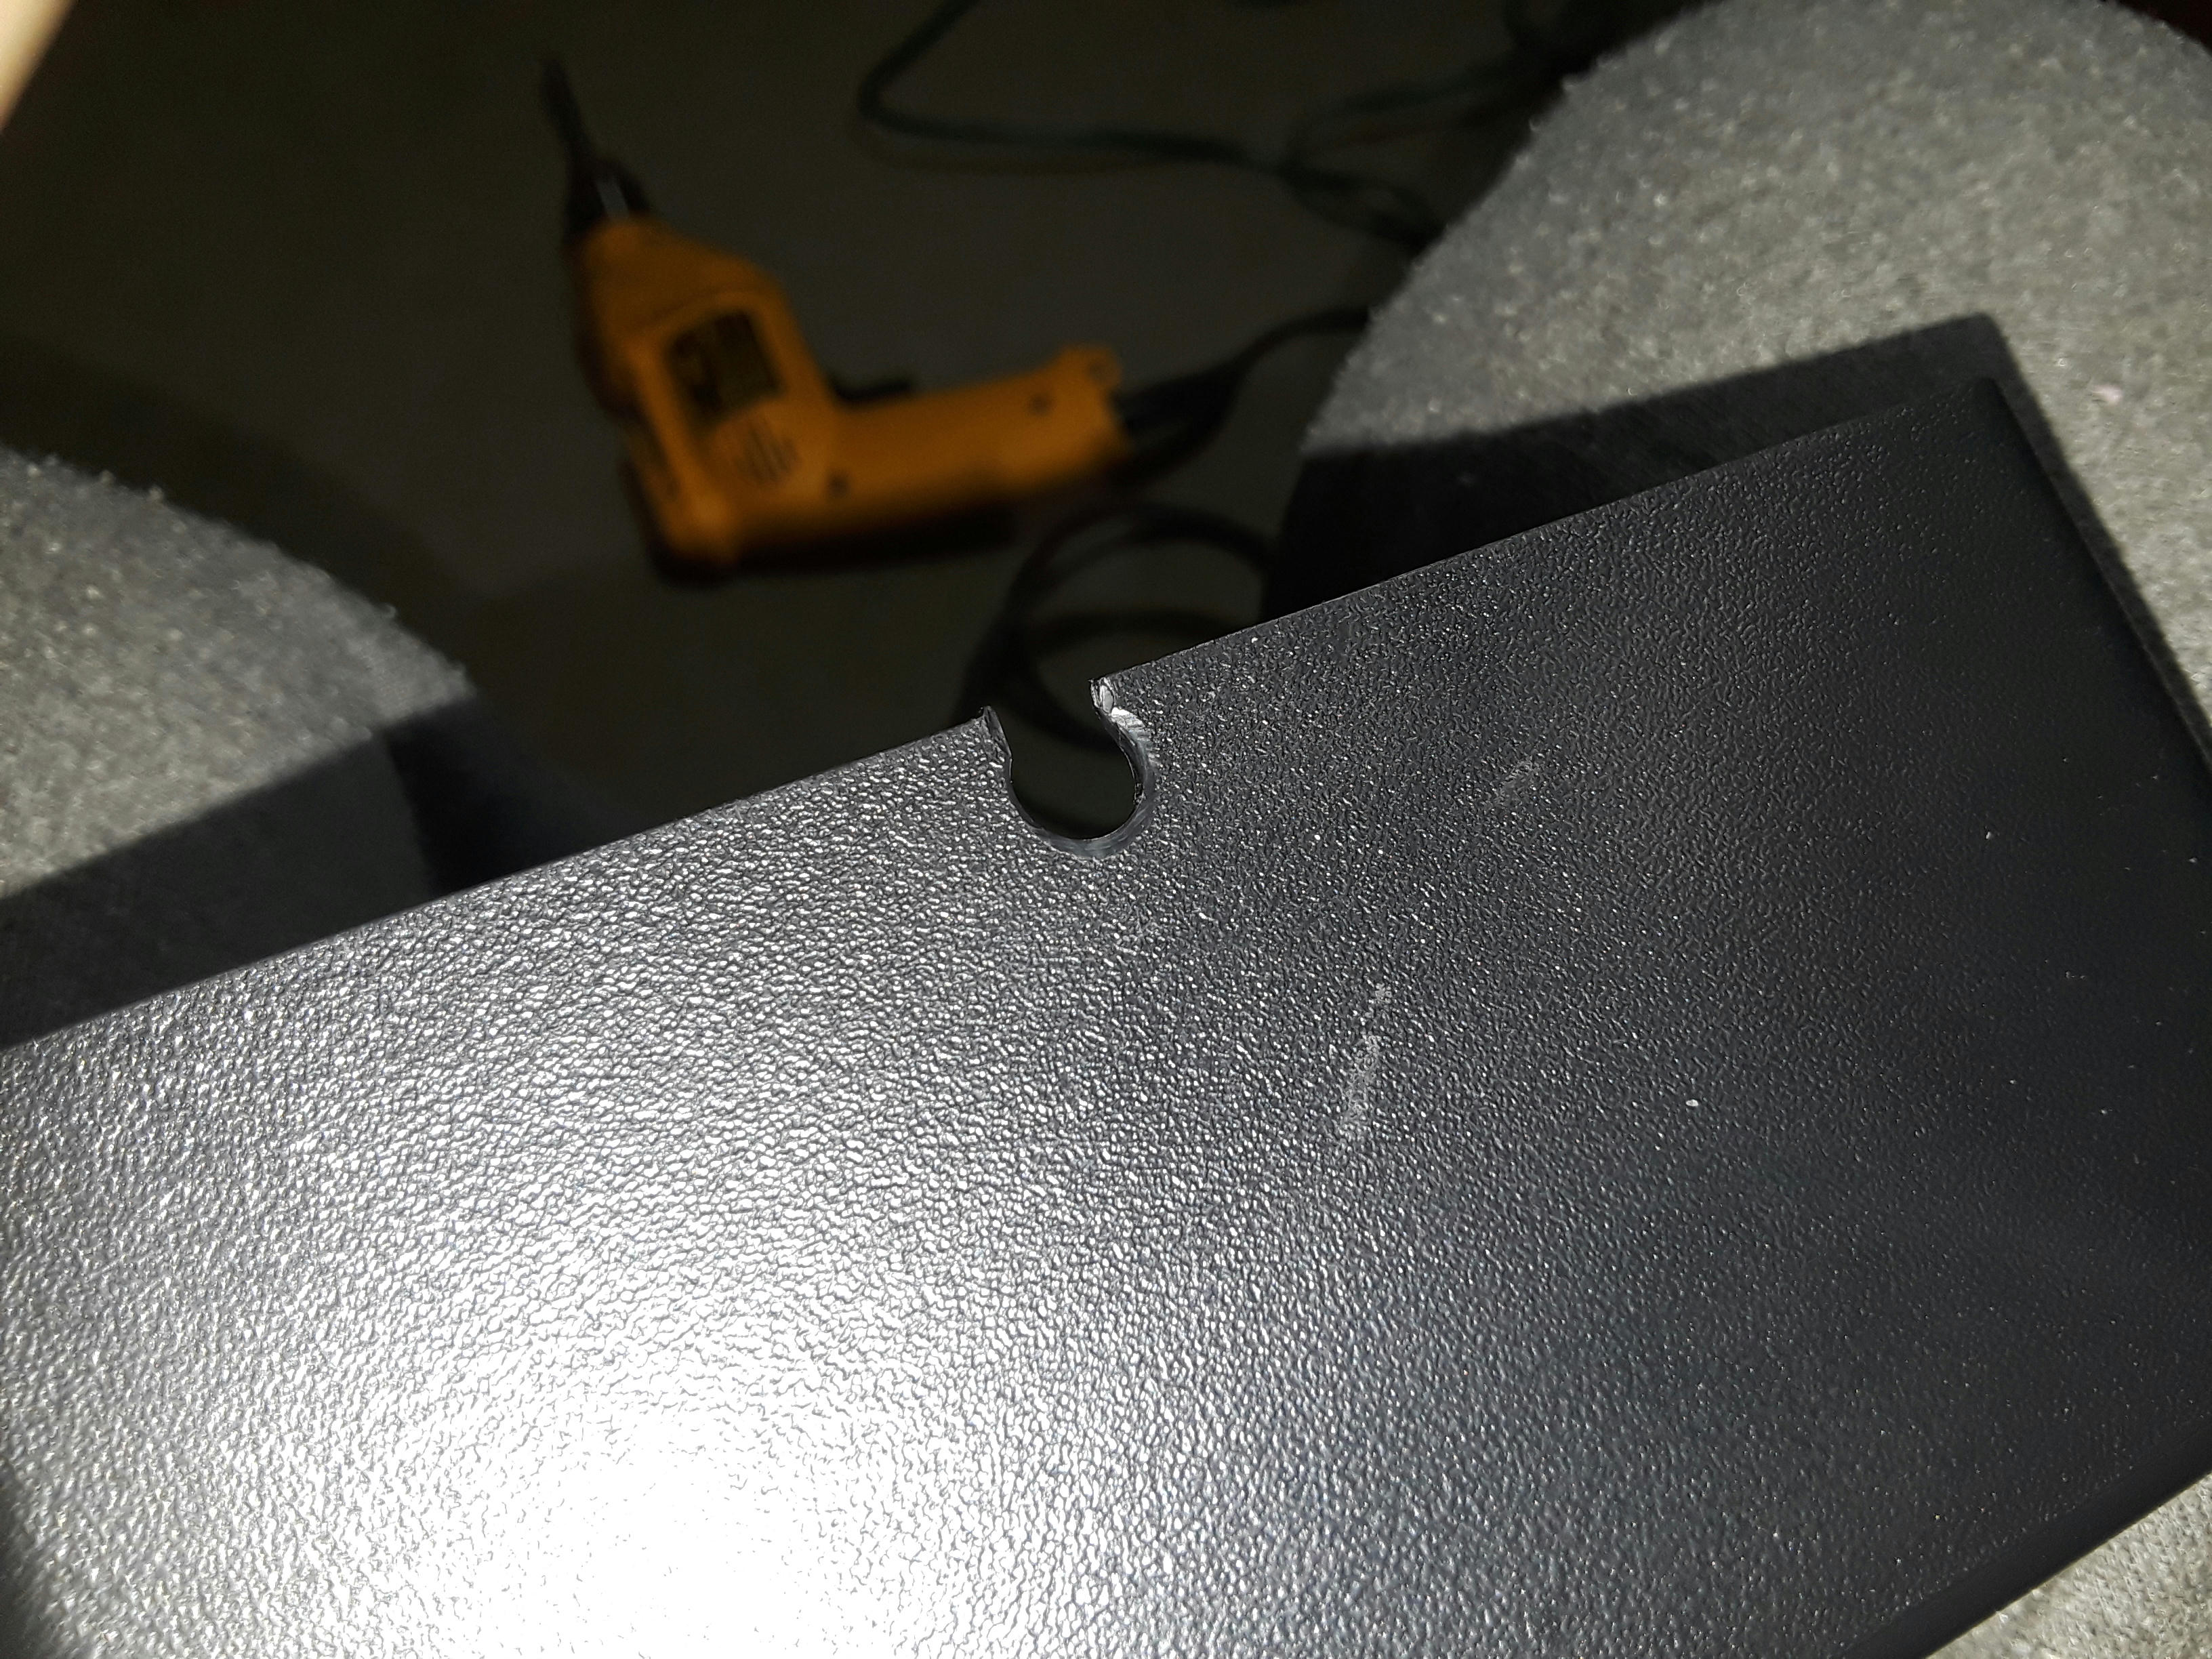
I didn't want to cut the usb wire so I drilled a hole in the side of the case and notched it out. I was sure to make it close enough so the cover will hold it down. Worked out really nice.
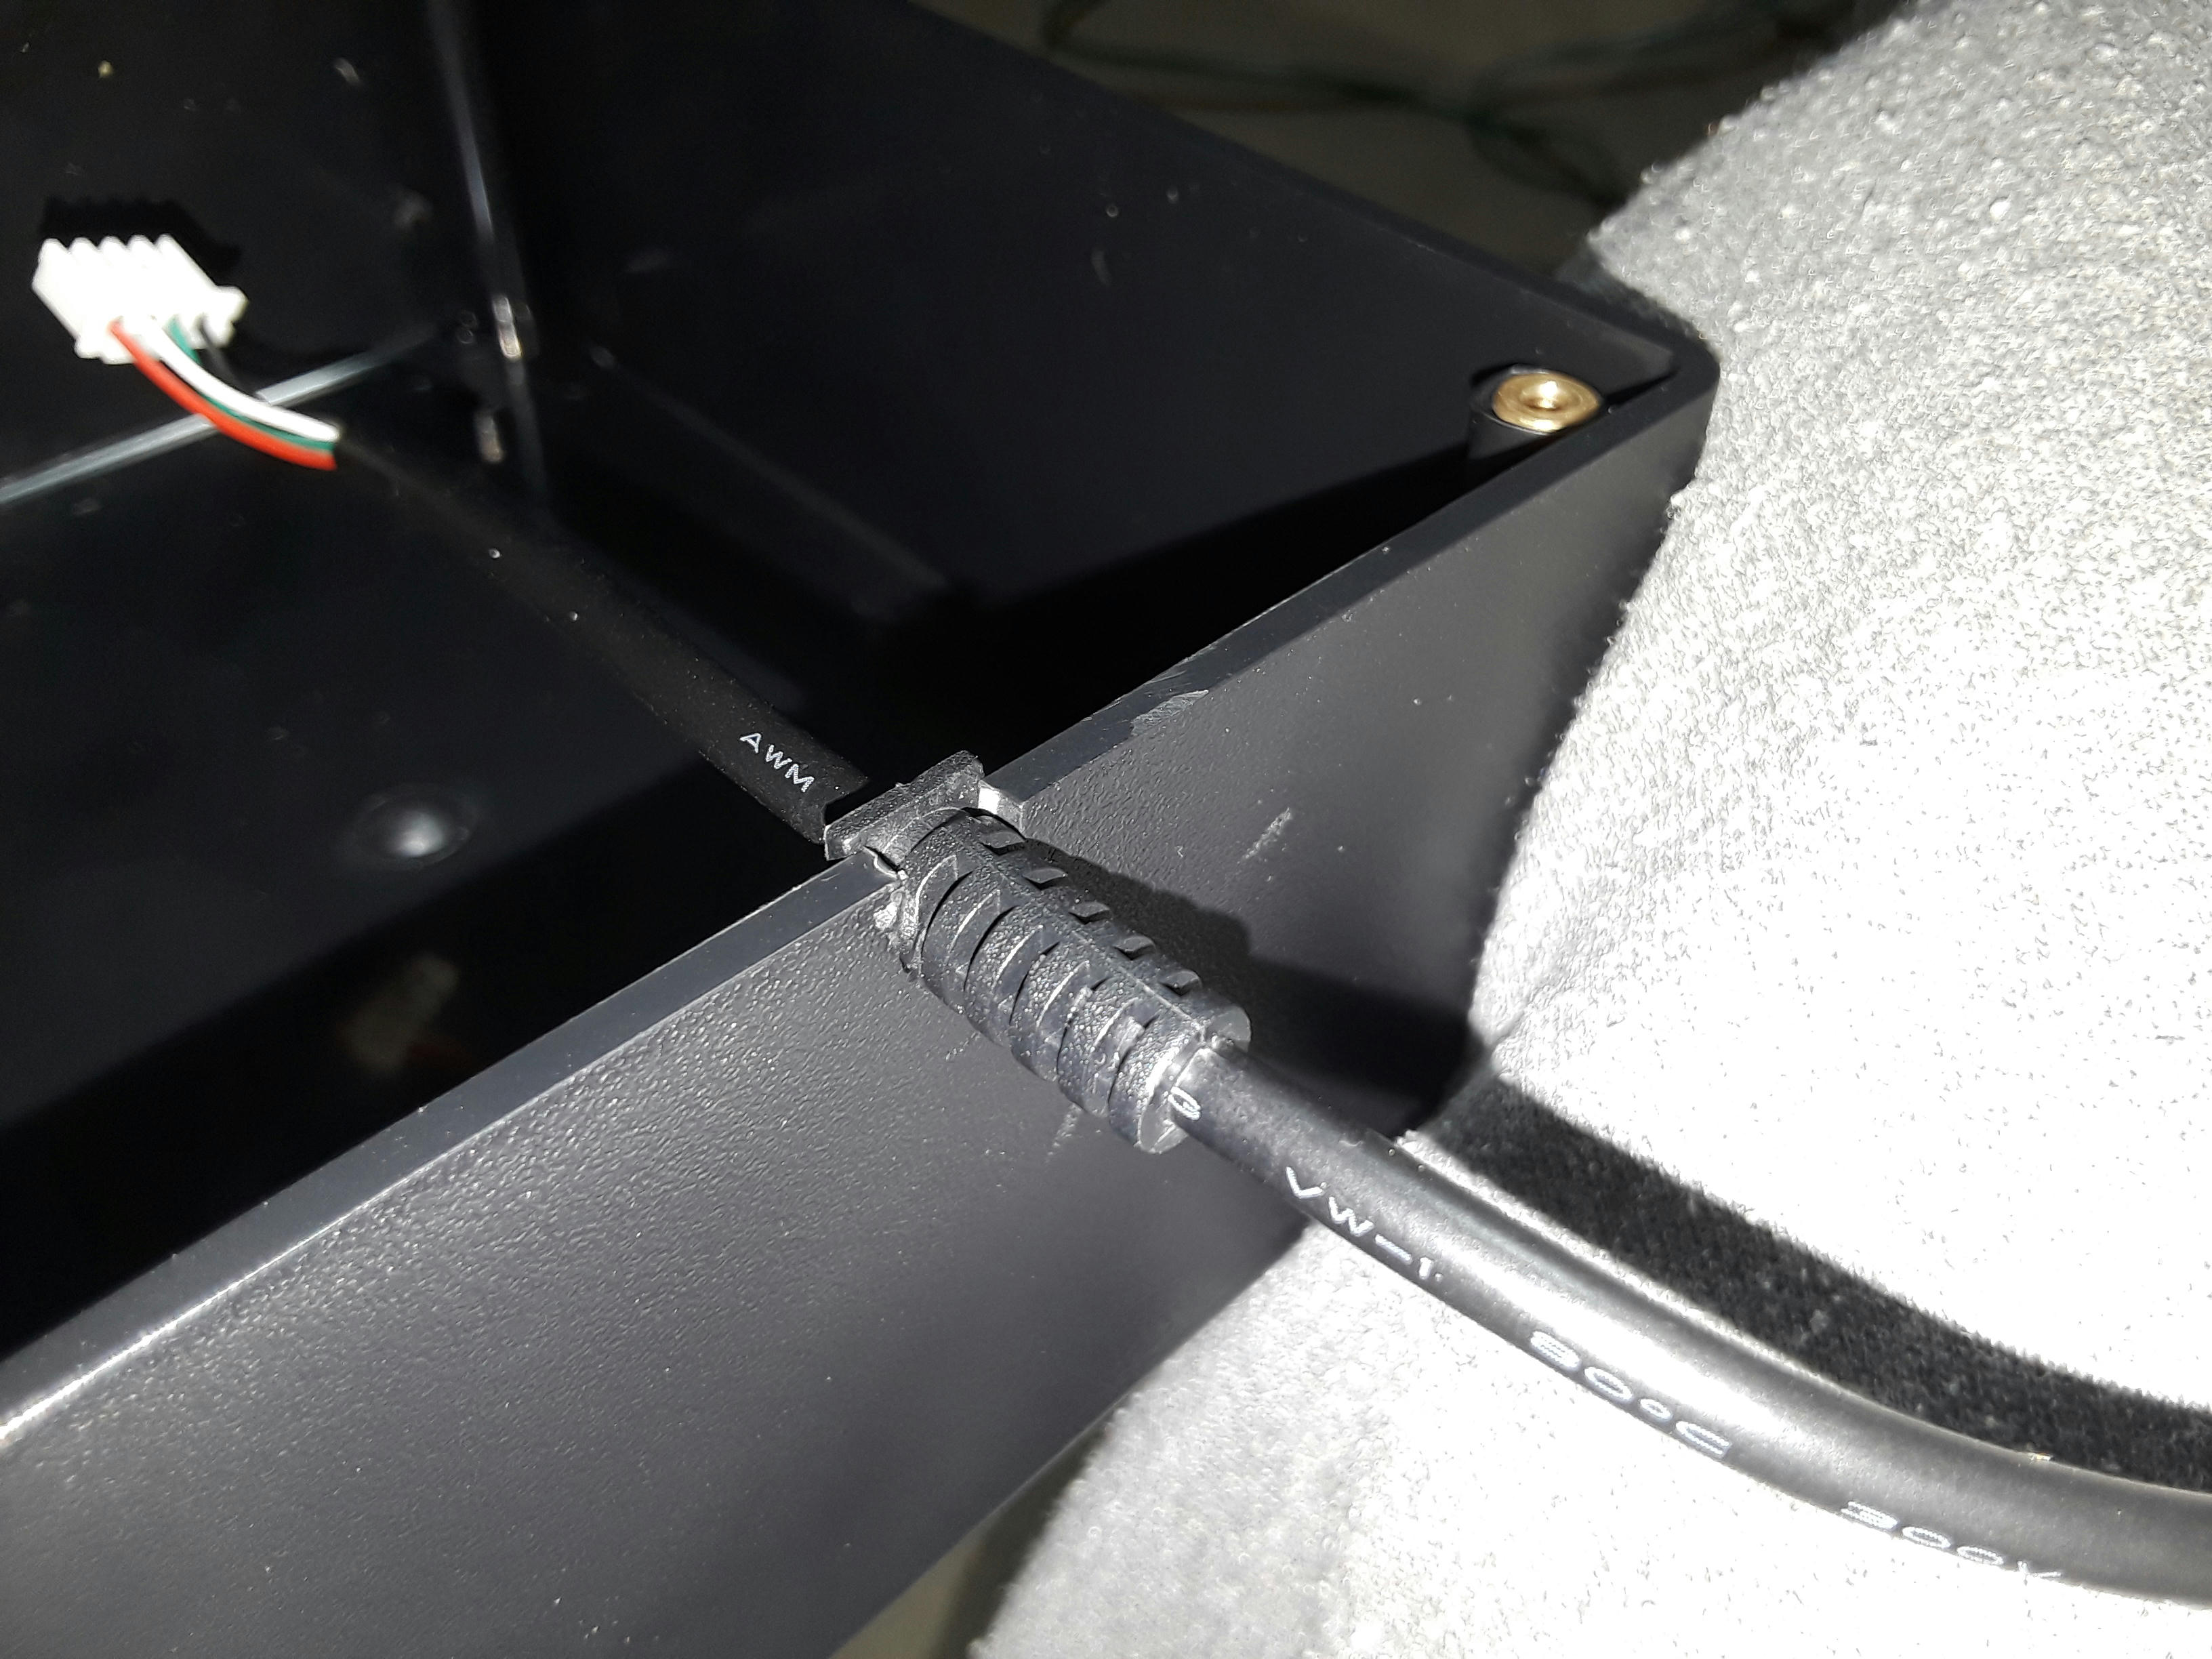
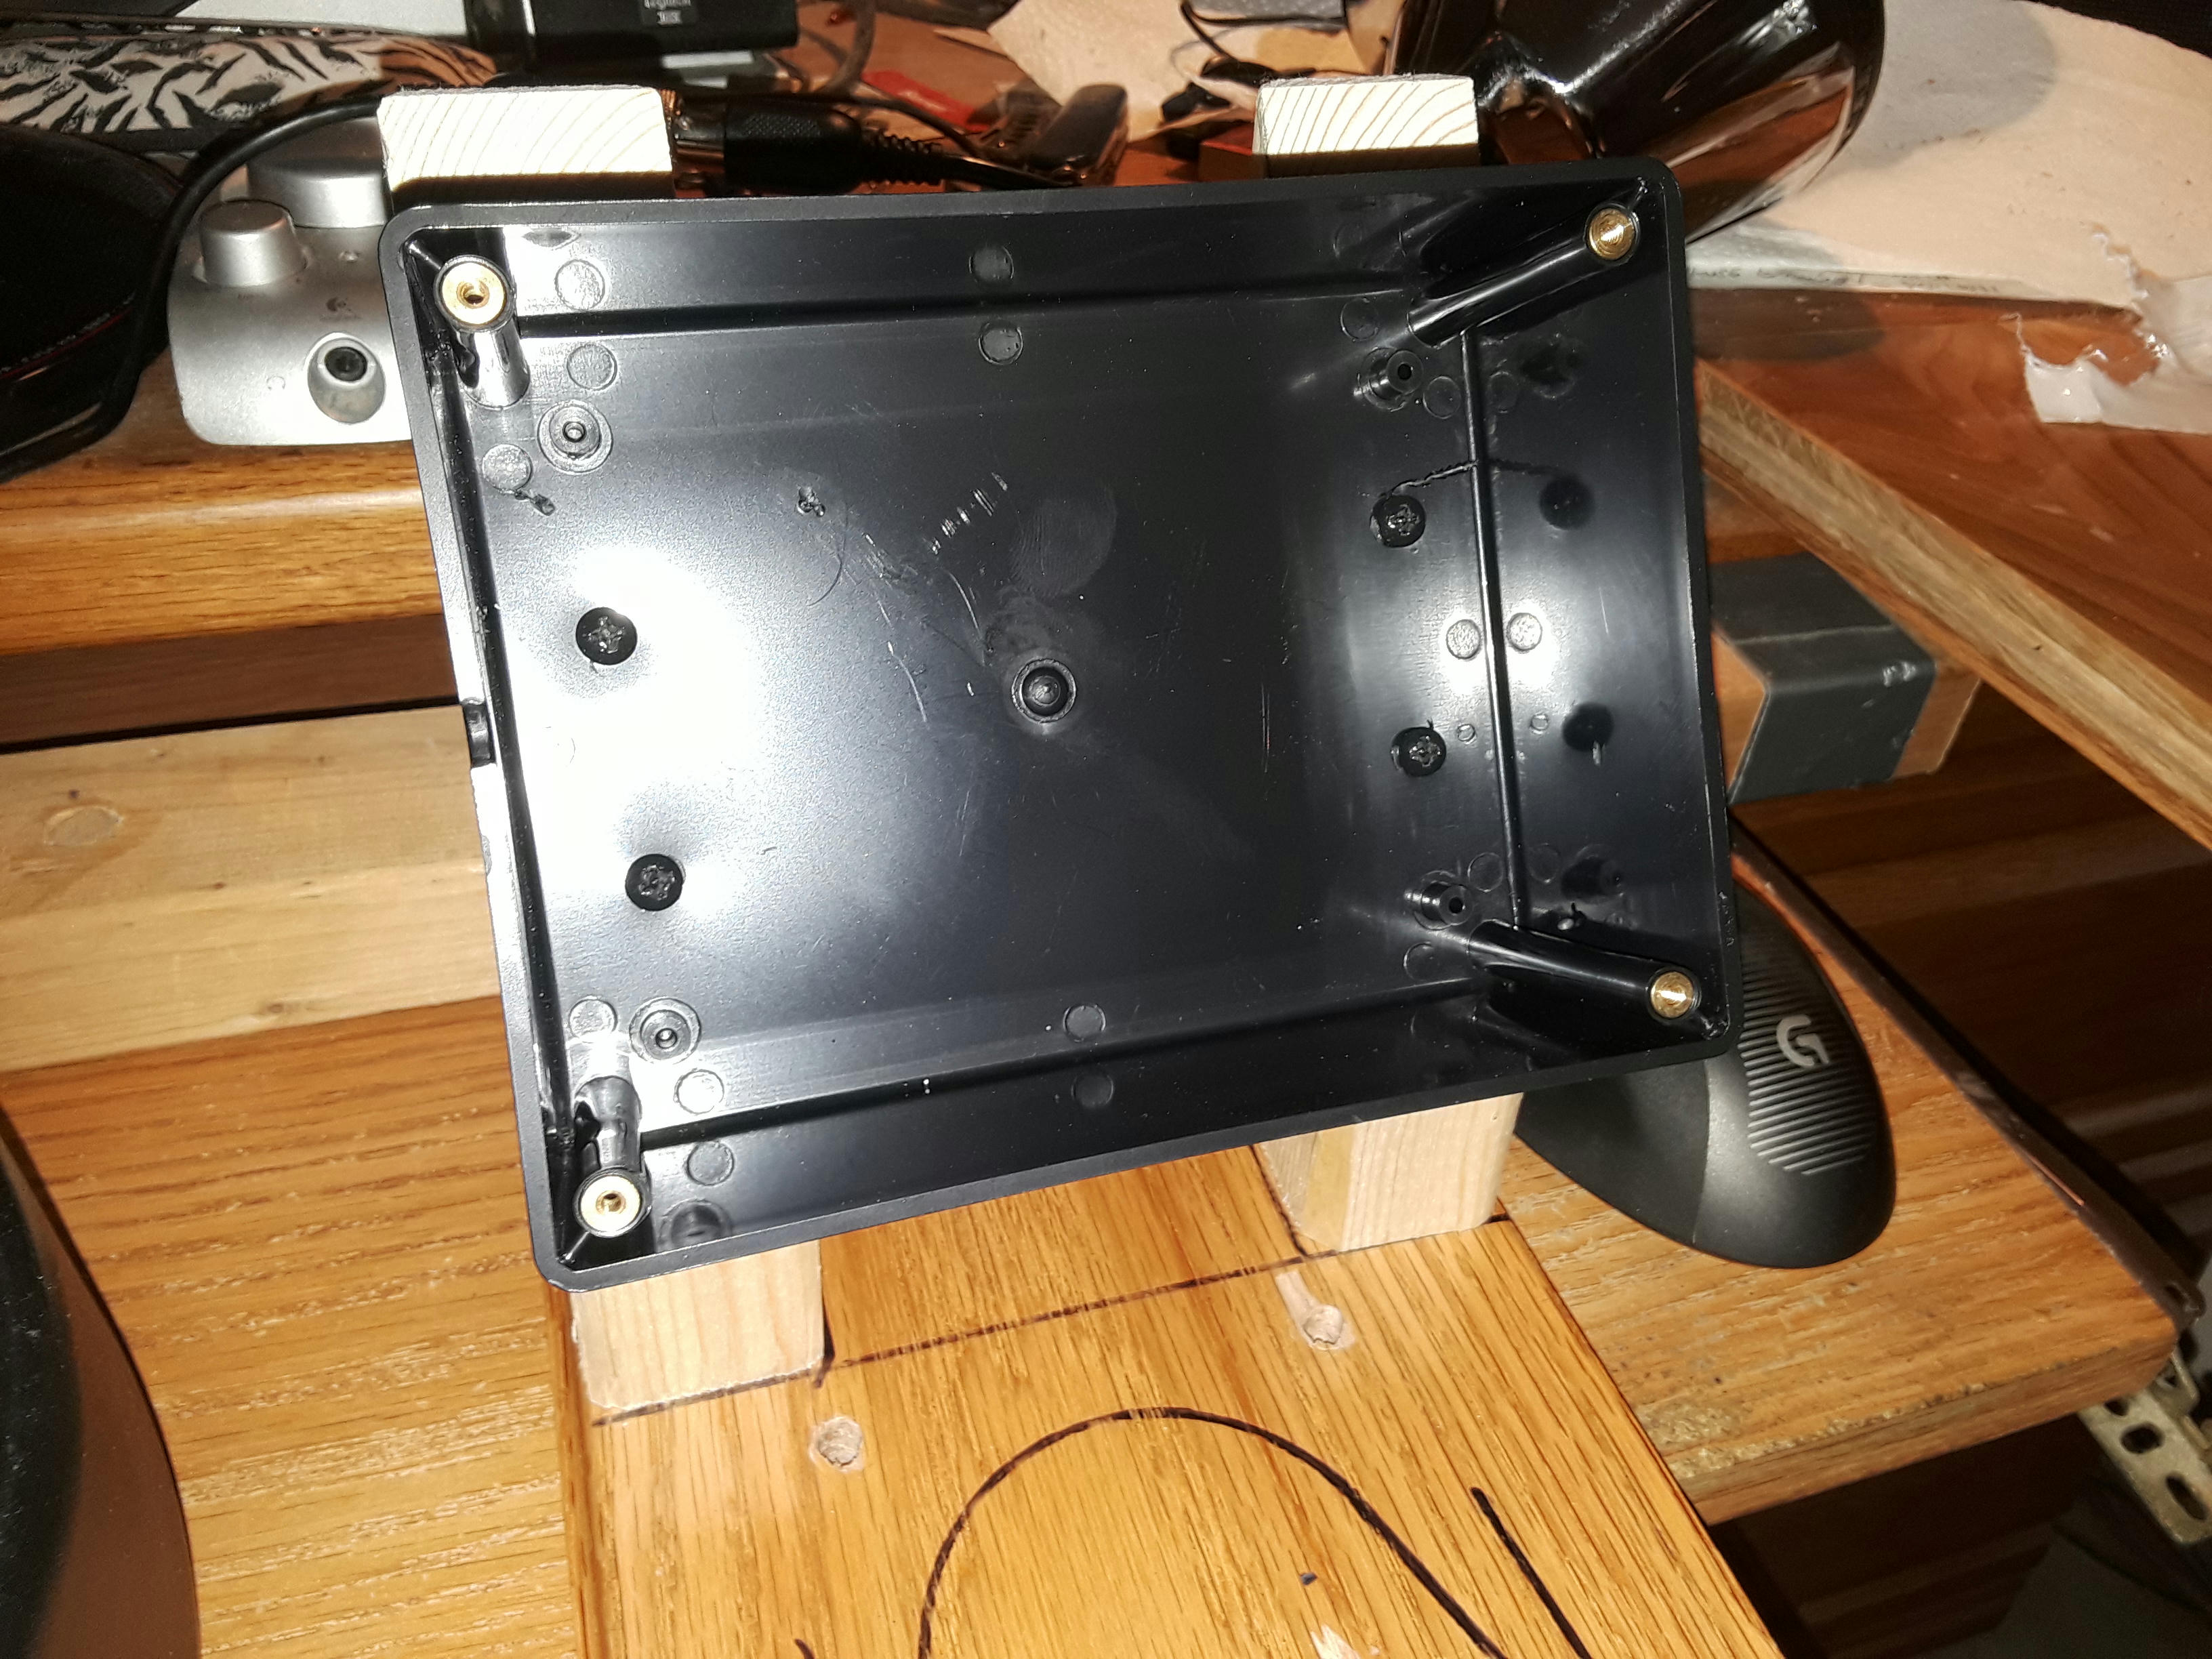
Now I only need to make a cradle to hold it in place with a few wood screws.
I have the idea on paper ready to make it's just to late atm I have to wait till morning before I can turn on the saws. =)
On a side note, I was reading the comments on amazon of people that bought and built the same box, some of them said it burnt out not just one but all there usb ports in their pc. Hearing this I thought I better test this thing on my back up pc, plugged it in, it works perfectly.
I'll stop back and post a shot when I get it mounted.
EDIT:
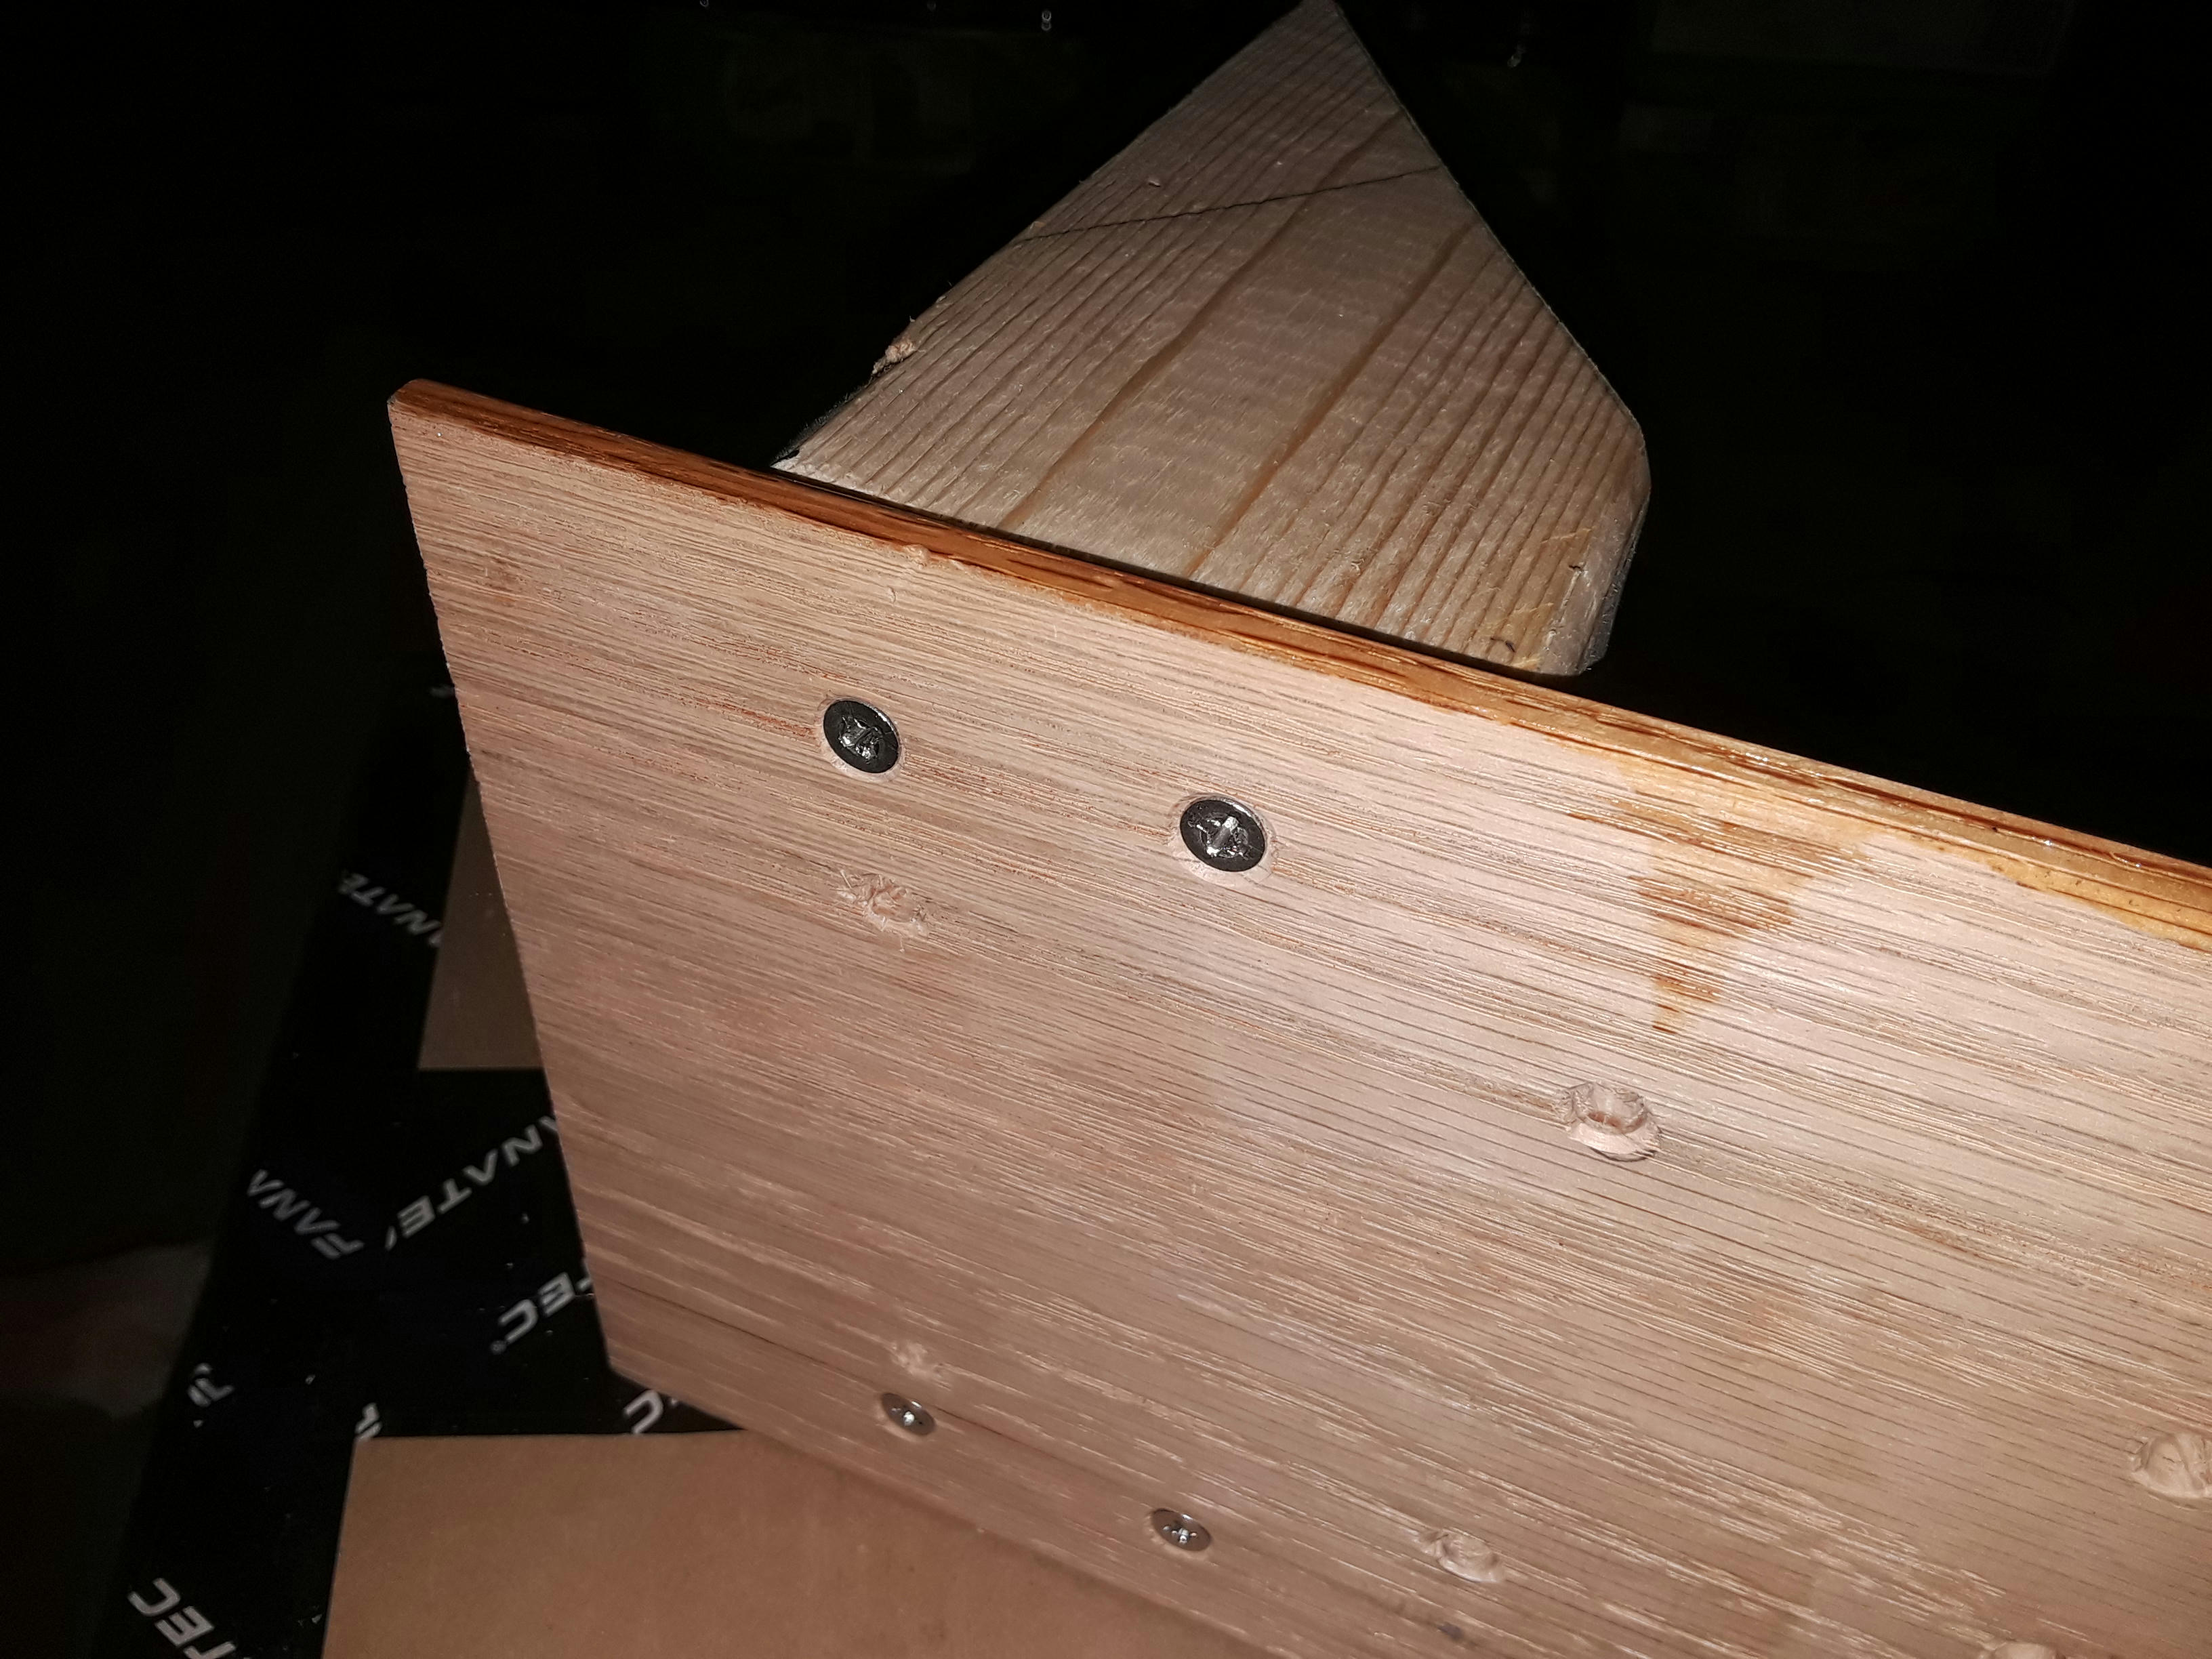
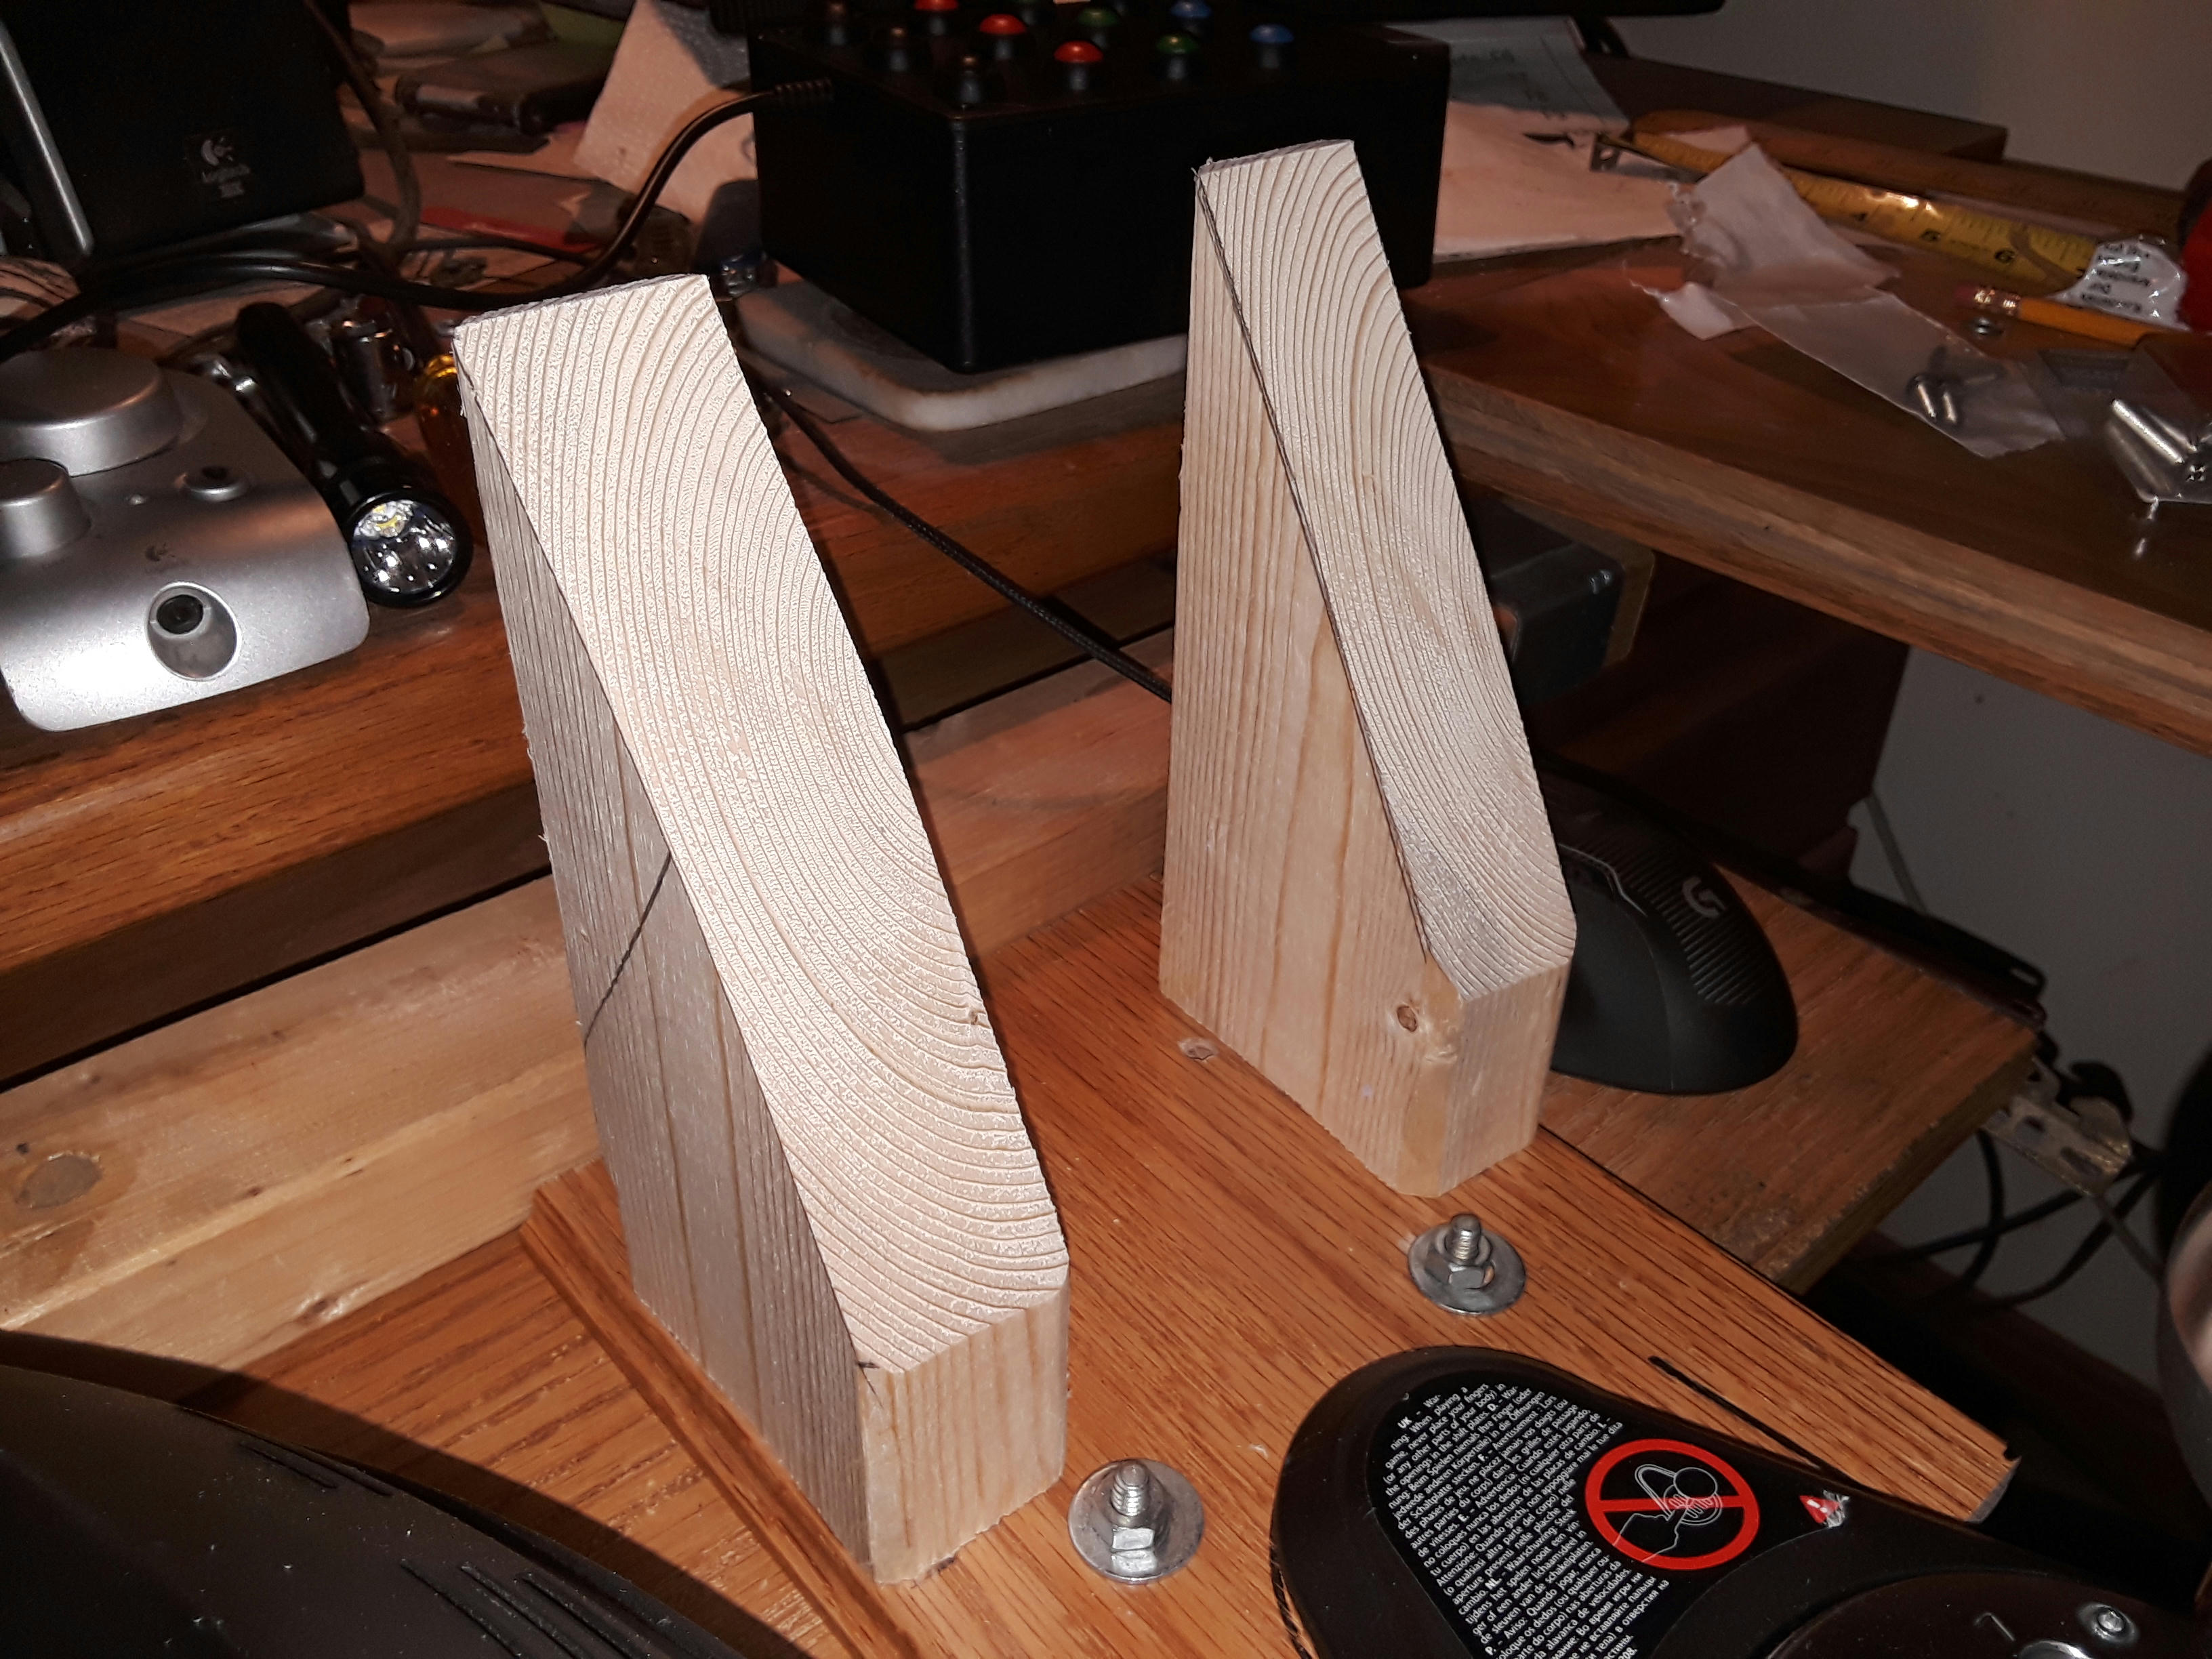
This is what I came up with for a mounting system.
Really simple and quite effective. =)
EDIT:
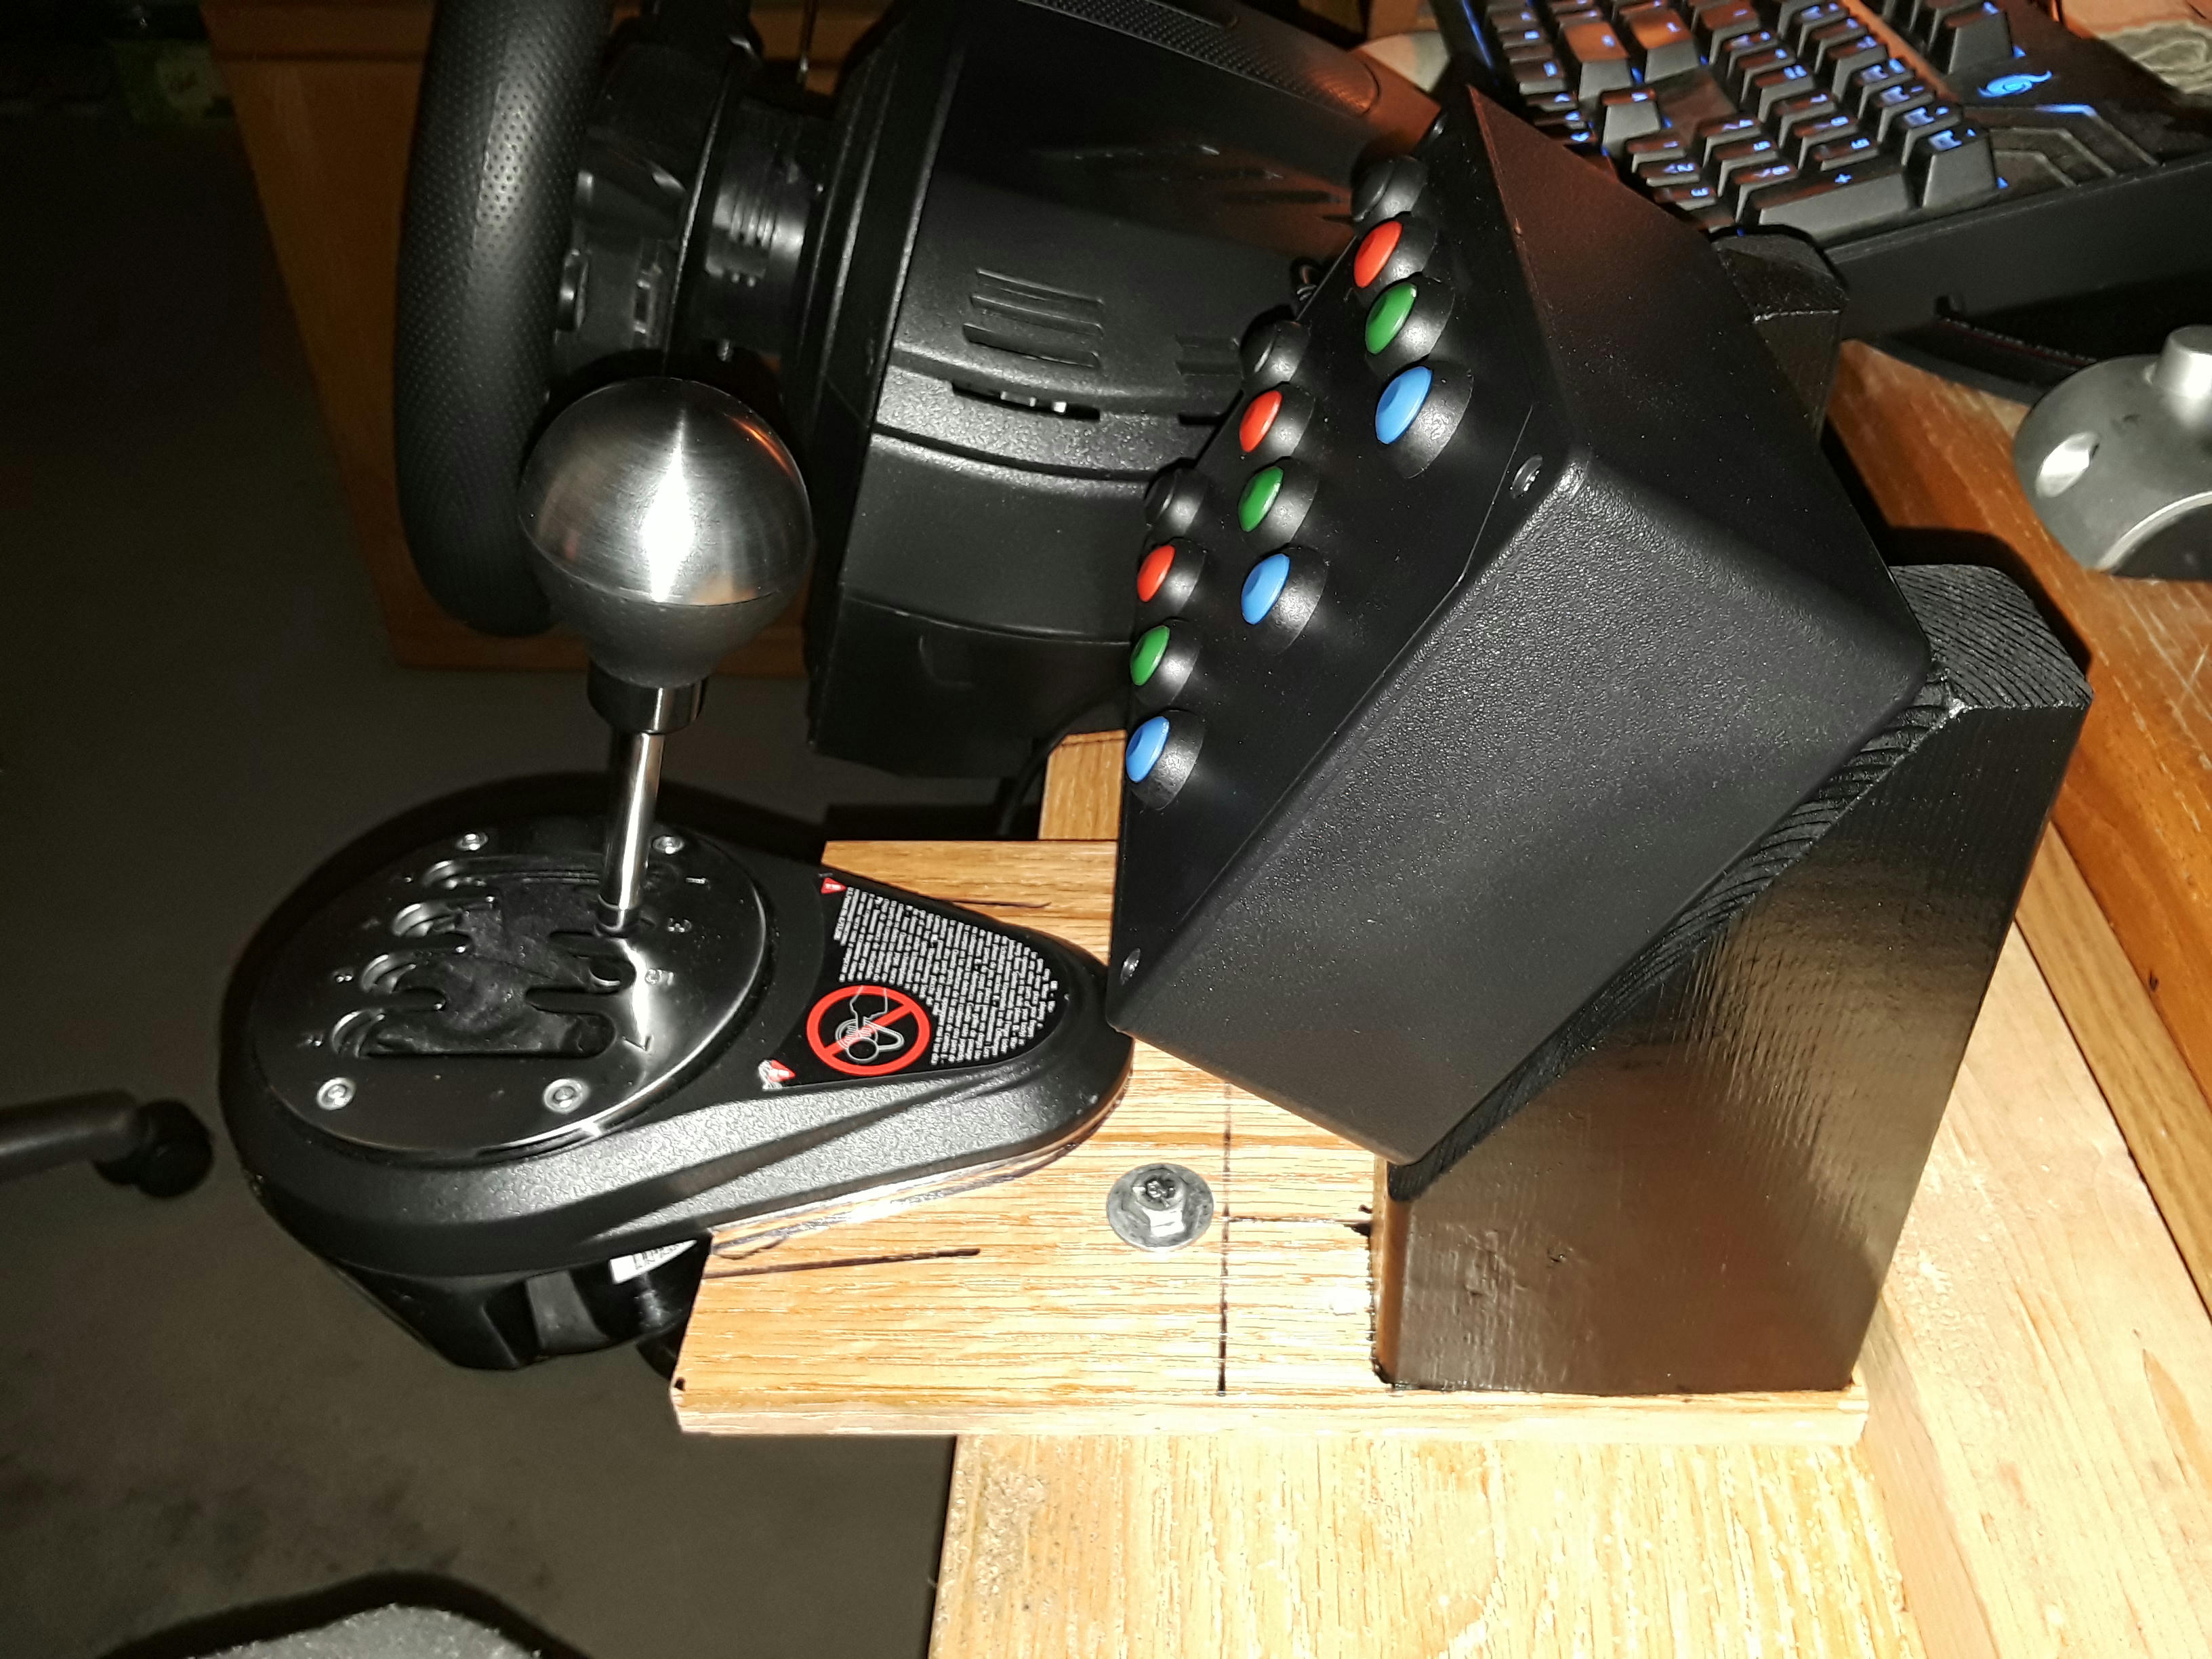
Today I trimmed off the sharp ends, gave it a coat of paint and moved it back 1.250. I found it to be a little to close to the shifter. After using this box for a day the buttons feel firm not like the g27 that I'm use to. Down the road I may change the buttons for THESE . I will give it time to get use to, who knows maybe I'll get use to them and like them better.
EDIT: 2020/03/16
Hello,
I made a little update on my button box today.
I wasn't sure how to use the up, down, left, right on the board so this is what I came up with. I put left and right on top because I look/use left and right more than up and down. The bottom 2 yellow buttons are up and down. The very bottom yellow button moved on me so it's a little off but not a big deal to me, all working ok so far bringing my button box up to 16 buttons.